1 Fill in the Email List in Excel
Click here to download the email list template and fill in the recipients' email addresses, email content, and attachment file names.
Below is a description of the template columns:
To_Emails |
Required |
The recipient's email address. Separate multiple addresses with a semicolon ";". |
CC_Emails |
Optional |
CC email addresses. Separate multiple addresses with a semicolon ";". |
Subject |
Optional |
The subject of the email. |
Body |
Optional |
The body of the email. AttachmentMailerTool supports sending either plain text or HTML content. Tip: To send HTML content, add {[HTML_BODY]} (in uppercase) at the beginning of the "Body" field. For example:
{[HTML_BODY]}<!DOCTYPE html> |
File_Path |
Optional |
The full path to the attachment file you want to send. For example: d:\invoice\06-2025\cn001\Invoice-June-2025.pdf If this field is left blank, no attachment will be sent. Currently, only one attachment per email is supported. If you need to send multiple attachments, please contact us for a free configuration of a multi-attachment tool. |
Admin_Password |
Optional |
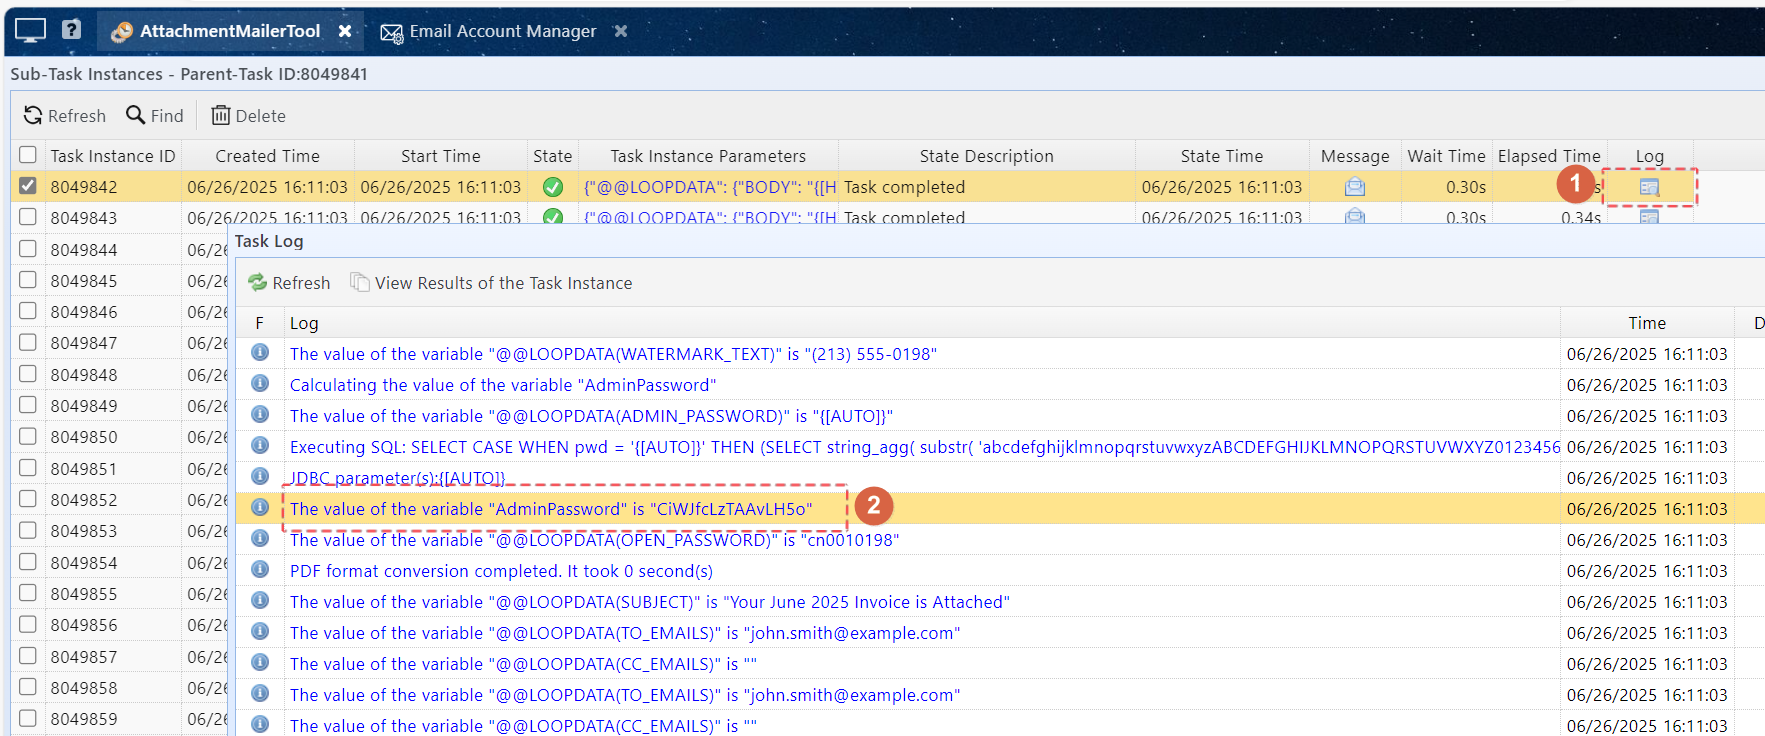
For PDF files, you can set an admin password here. Tips: If "Admin_Password" is empty, no admin password is added. If the value is {[AUTO]}, AttachmentMailerTool will generate a random admin password for the document. You can find the plaintext password in the task log of AttachmentMailerTool.
|
Open_Password |
Optional |
For PDF files, you can set an open password here. Recipients will need to enter this password to open the file. |
Watermark_Text |
Optional |
For PDF files, you can enter text here to be used as a watermark in the document. |
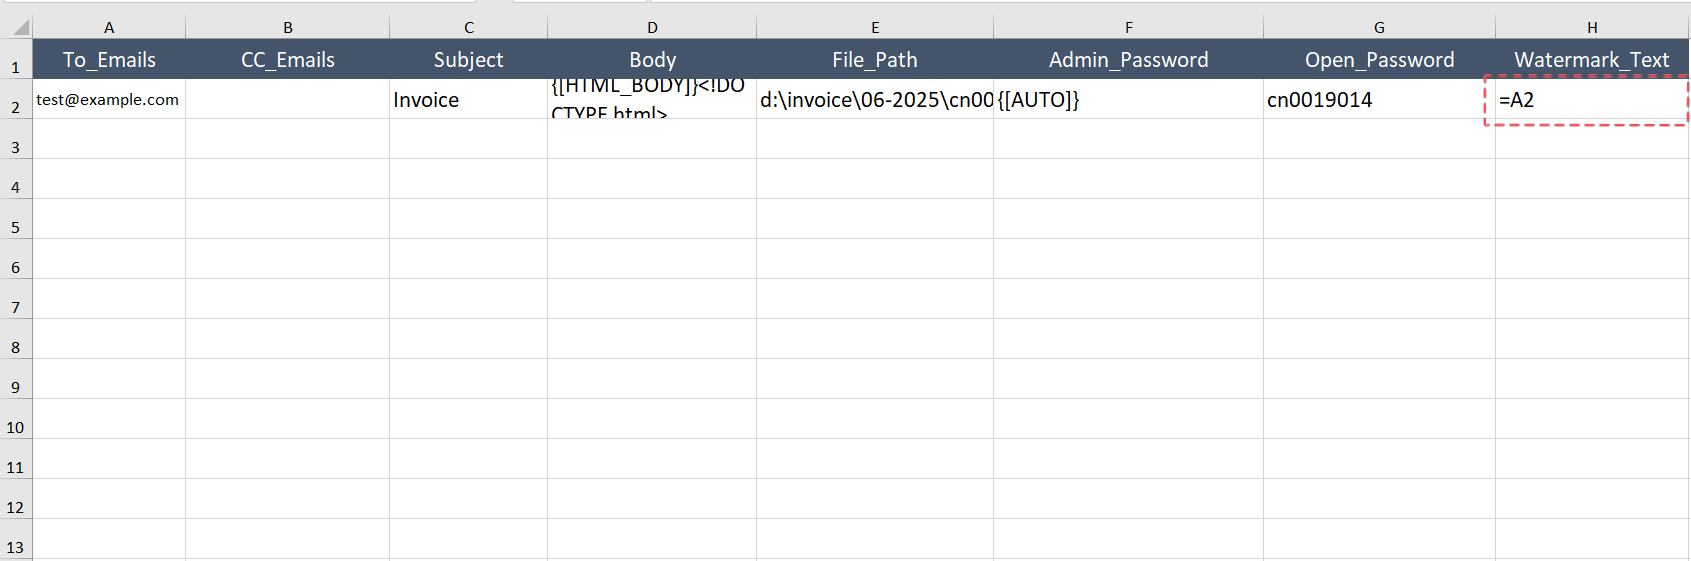
You may use Excel formulas to generate the values for the above columns. For example, you can use a formula to generate watermark text based on the recipient's email address.
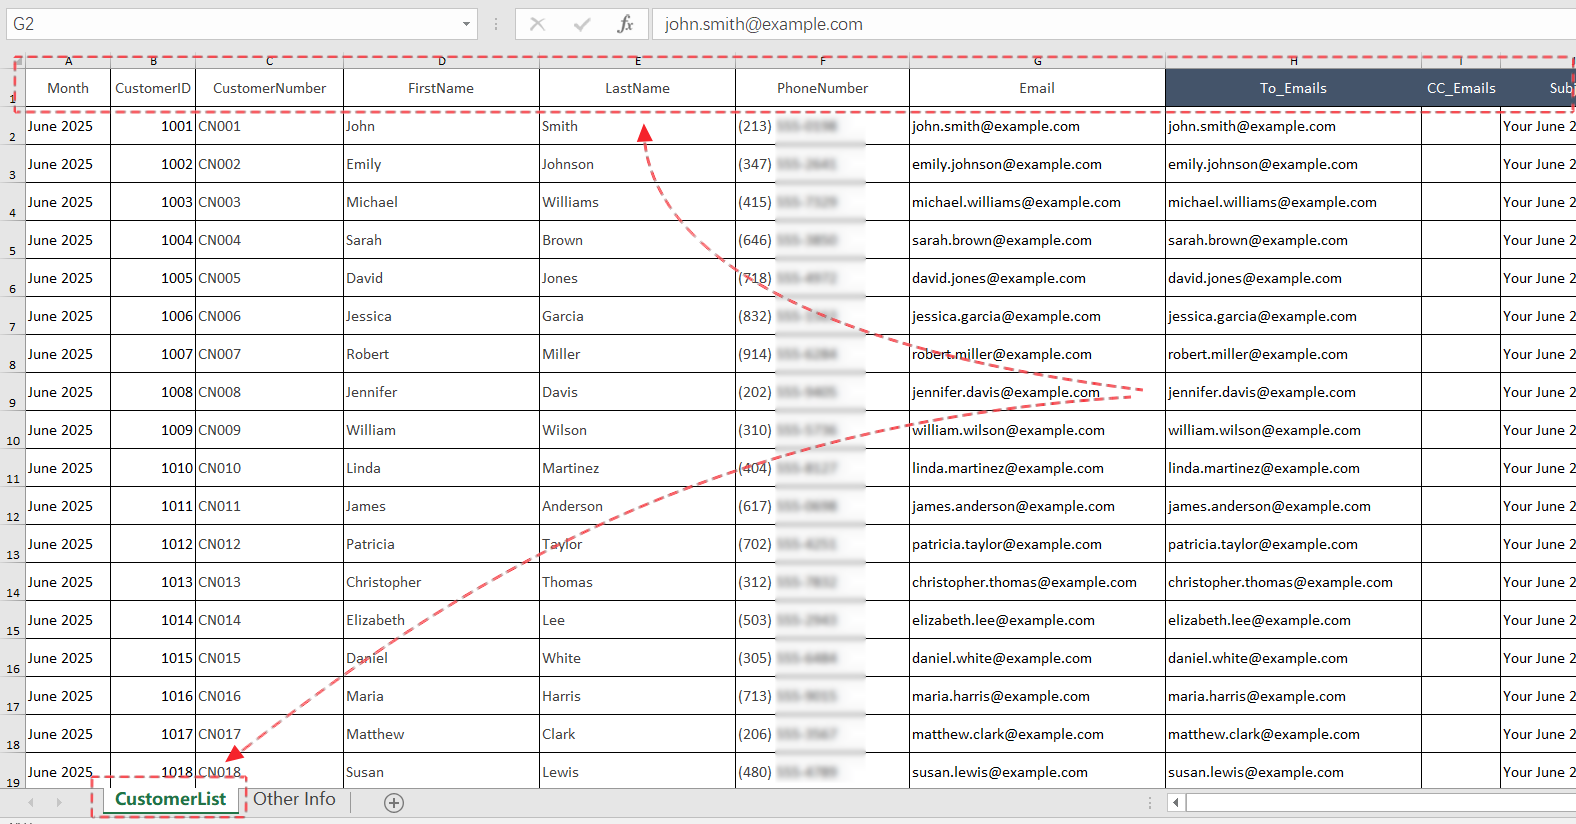
If you already have an Excel file containing recipient information, you can add the template columns to your existing spreadsheet and use Excel formulas to populate them.
Note: The recipient list must be on the first sheet of the Excel file. Data should start from cell A1. The first row must be column headers, and subsequent rows are data entries. Column names must be unique.
Here is an example:
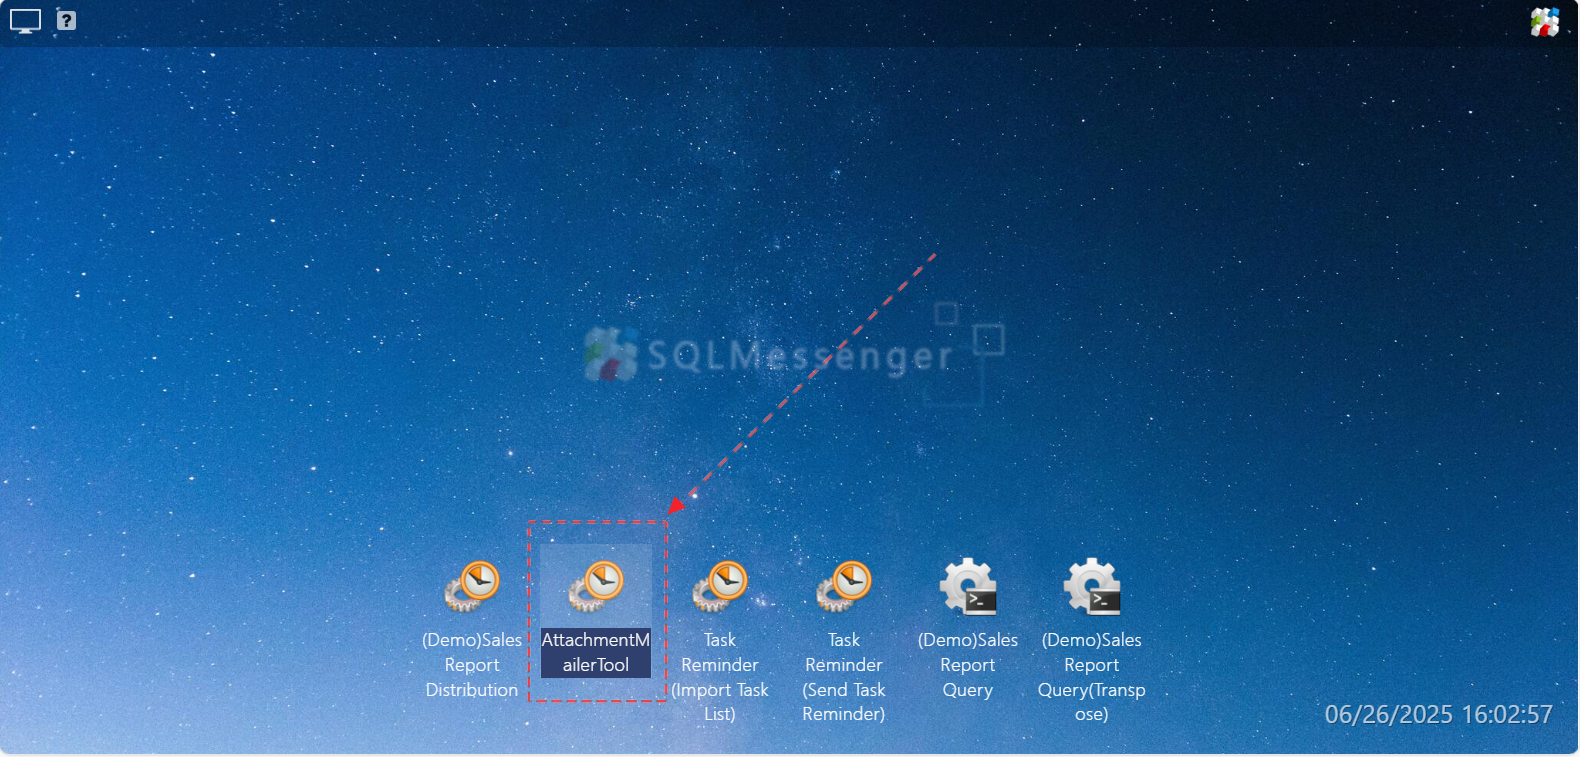
Step1: After preparing the email list, double-click the "AttachmentMailerTool" icon to open the task execution dialog.
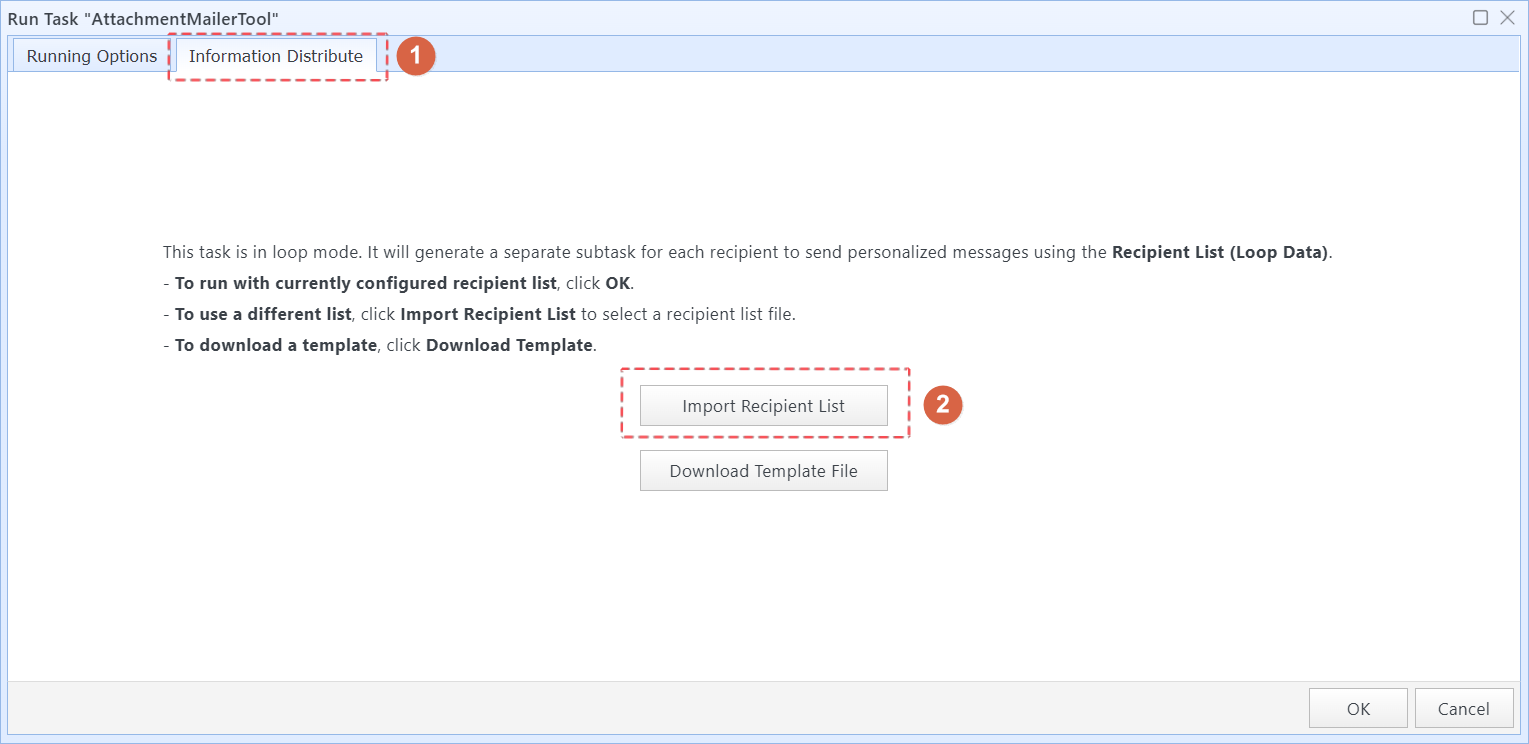
Step2: Click "Information Distribute", then click "Import Recipient List".
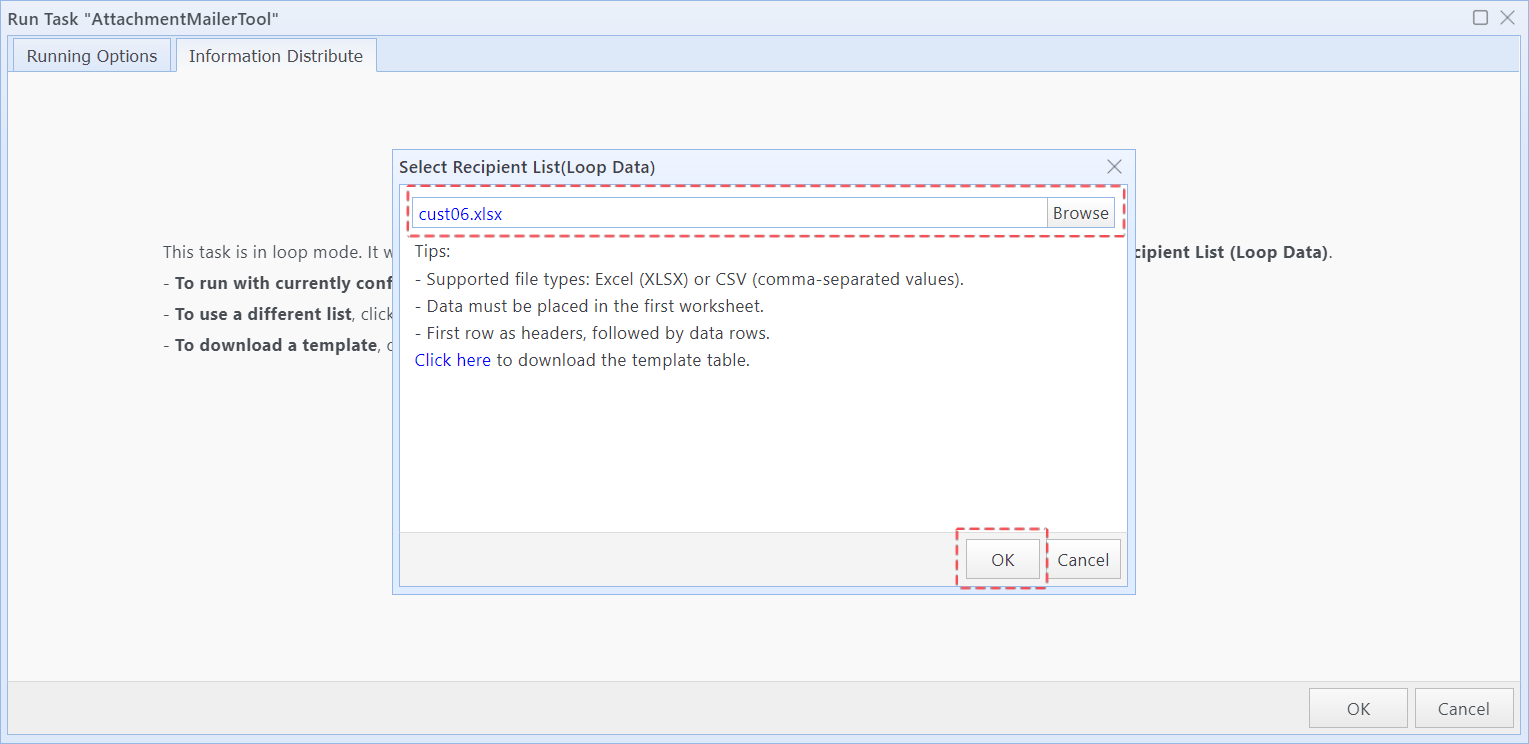
Step3: Click "Browse", select your prepared Excel file, then click "OK".
Step4: Review the loaded email data. Once confirmed, click "OK".
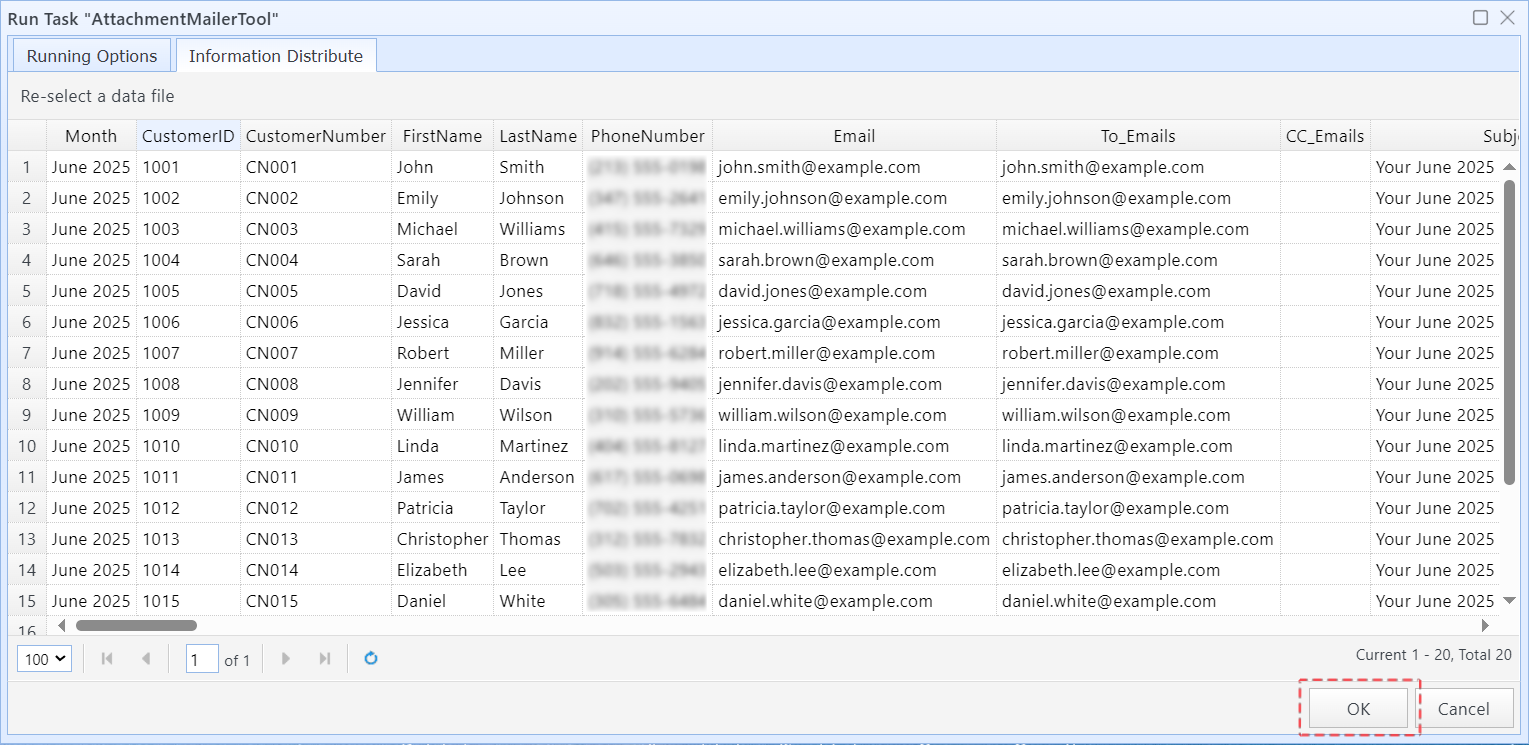
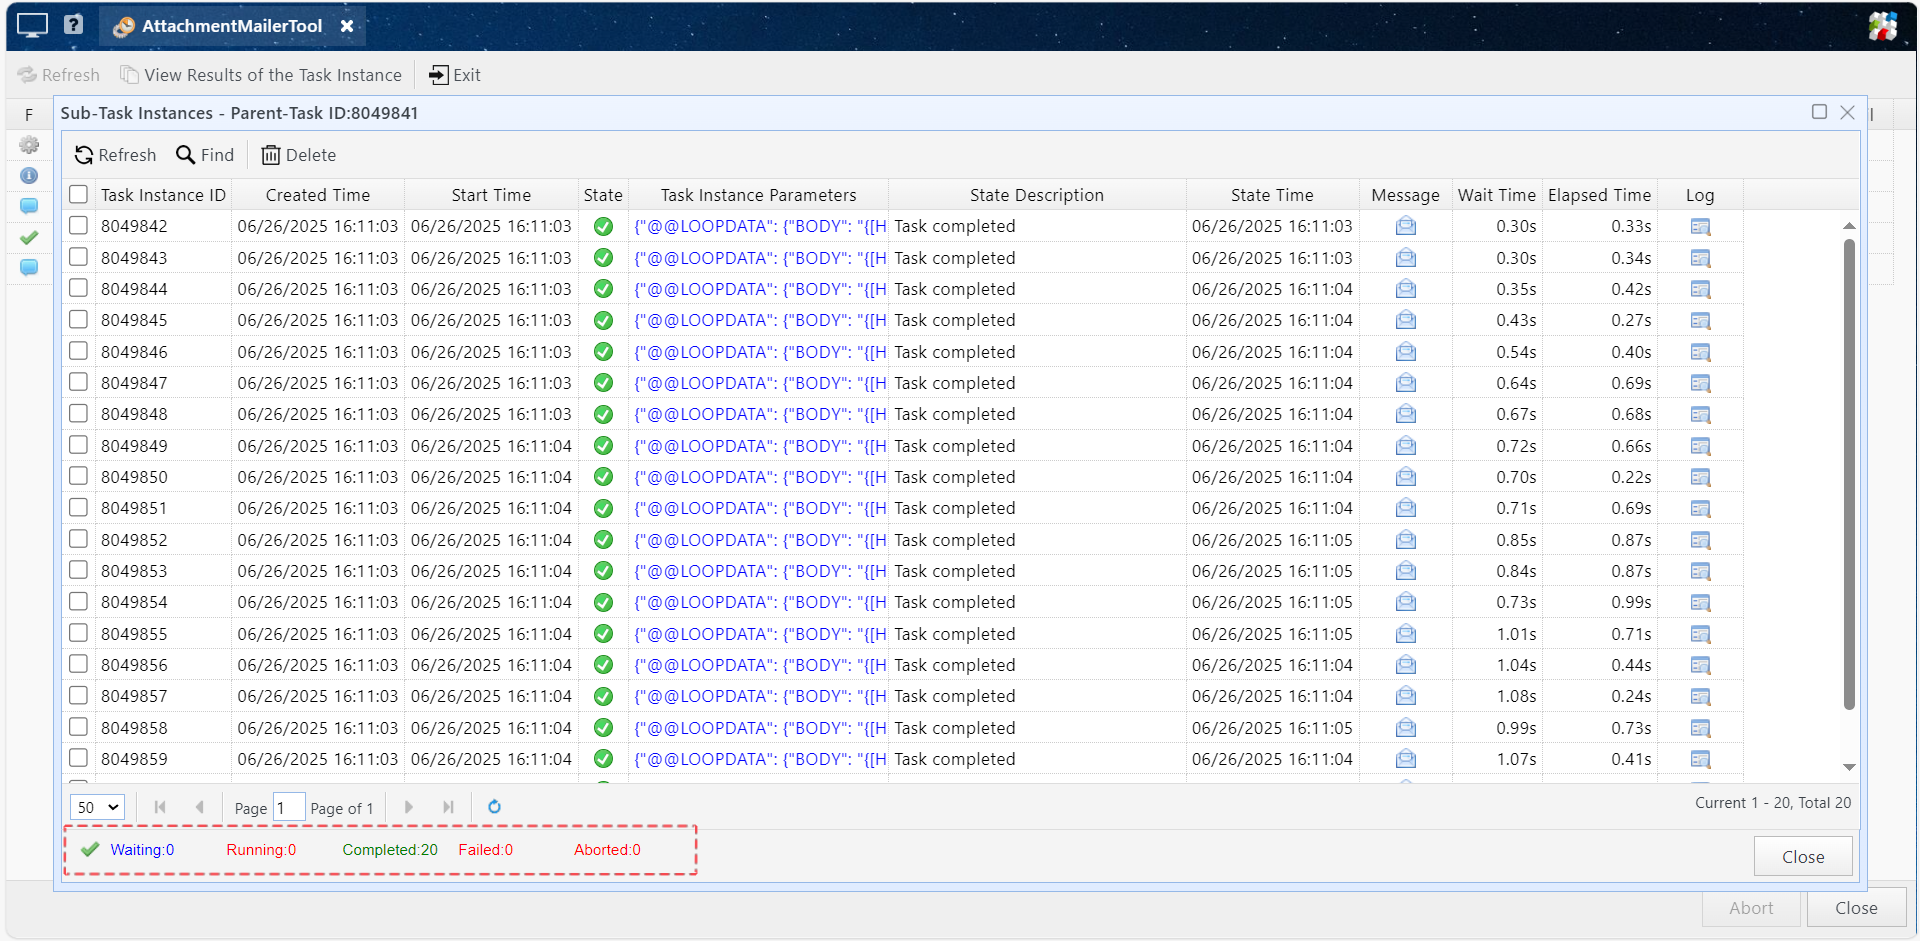
SQLMessenger will now begin running AttachmentMailerTool to generate emails. You can view the processing progress in the list.
Once the emails are generated, you must review and approve them before sending.
Step1: Open the review list. There are two ways to access it:
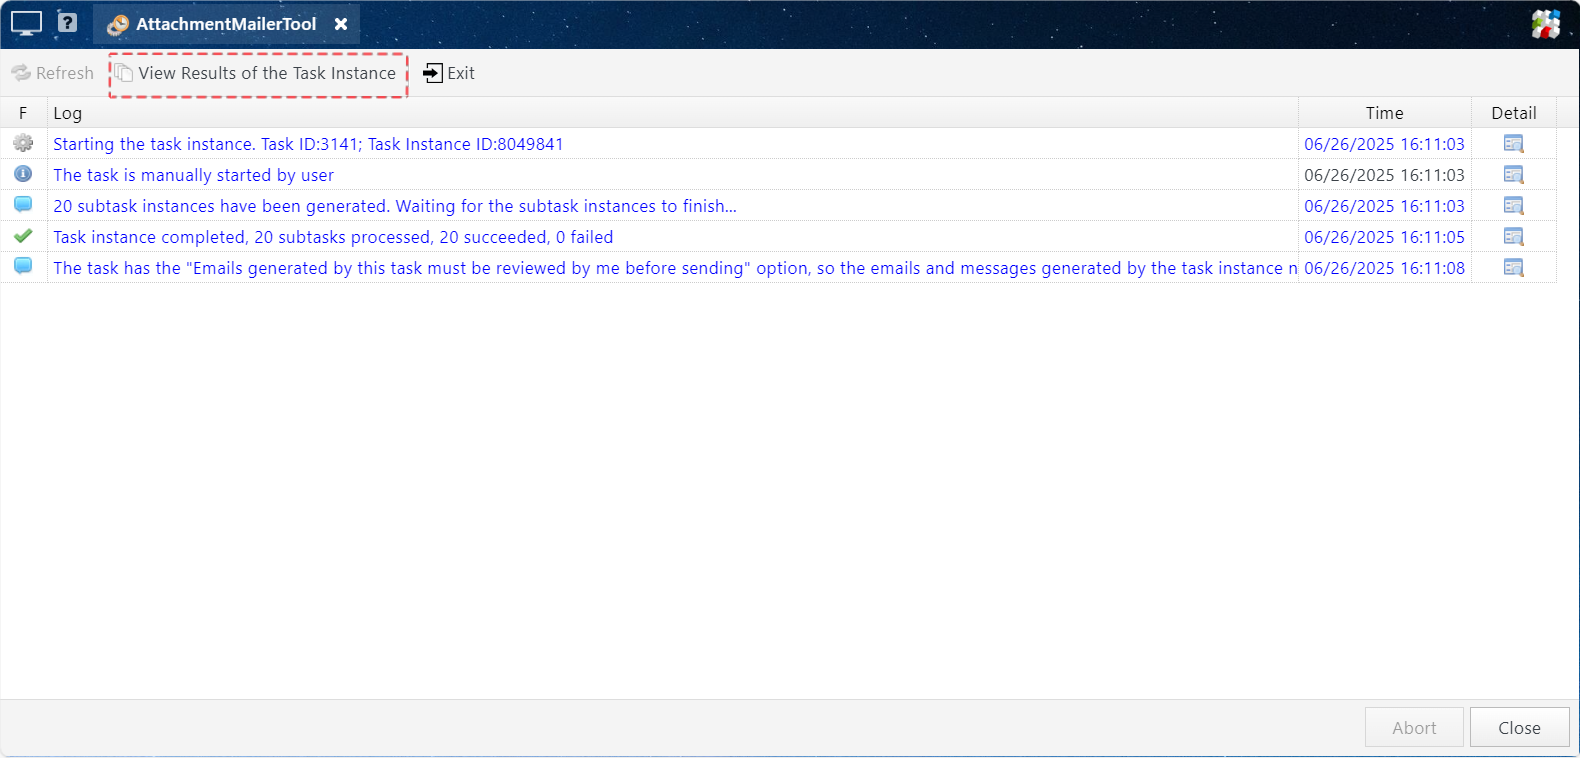
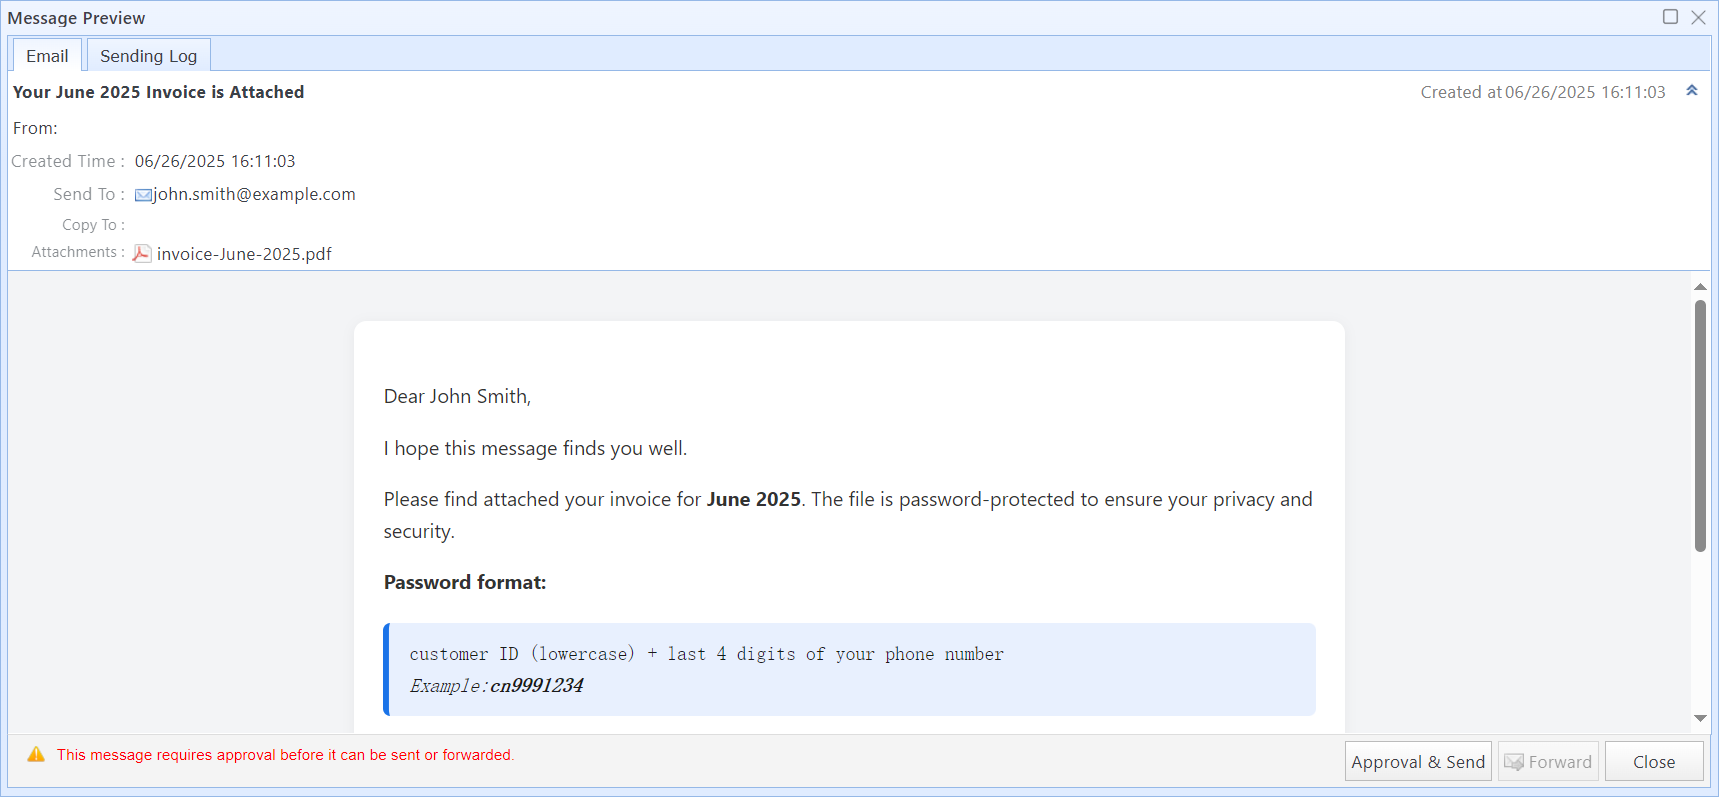
Method 1: In the Task Log window, click the "View Results of the Task Instance" button.
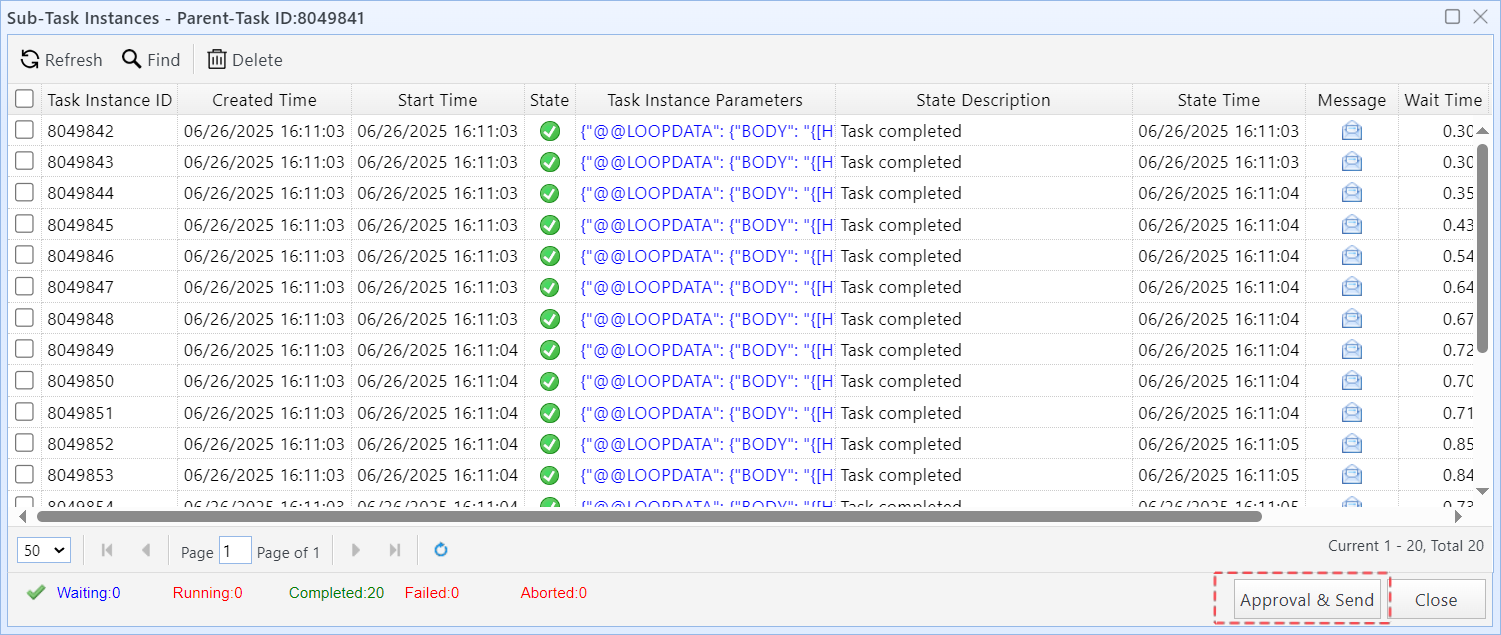
Then, click the "Approval & Send" button in the lower-right corner.
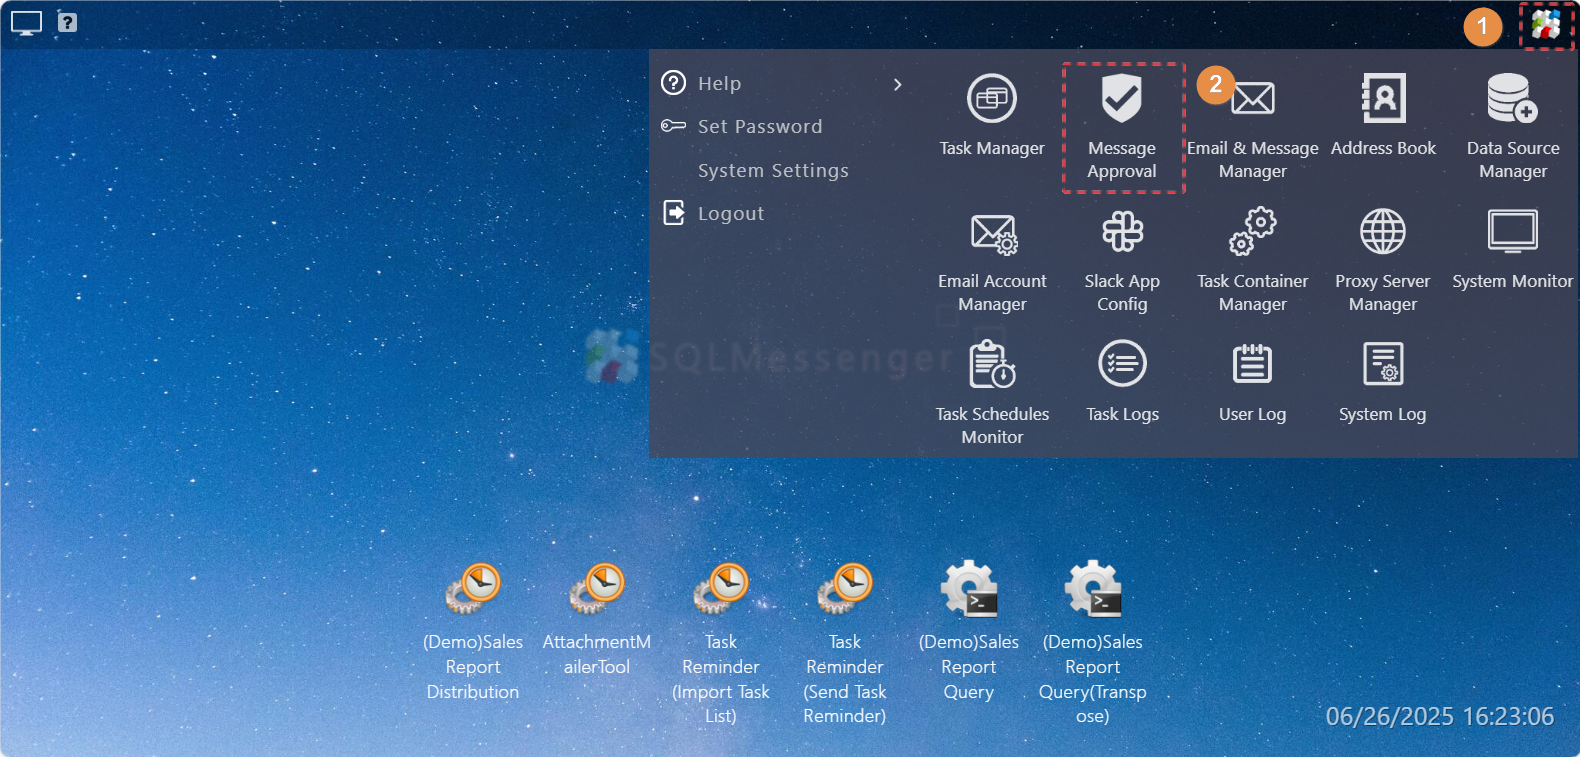
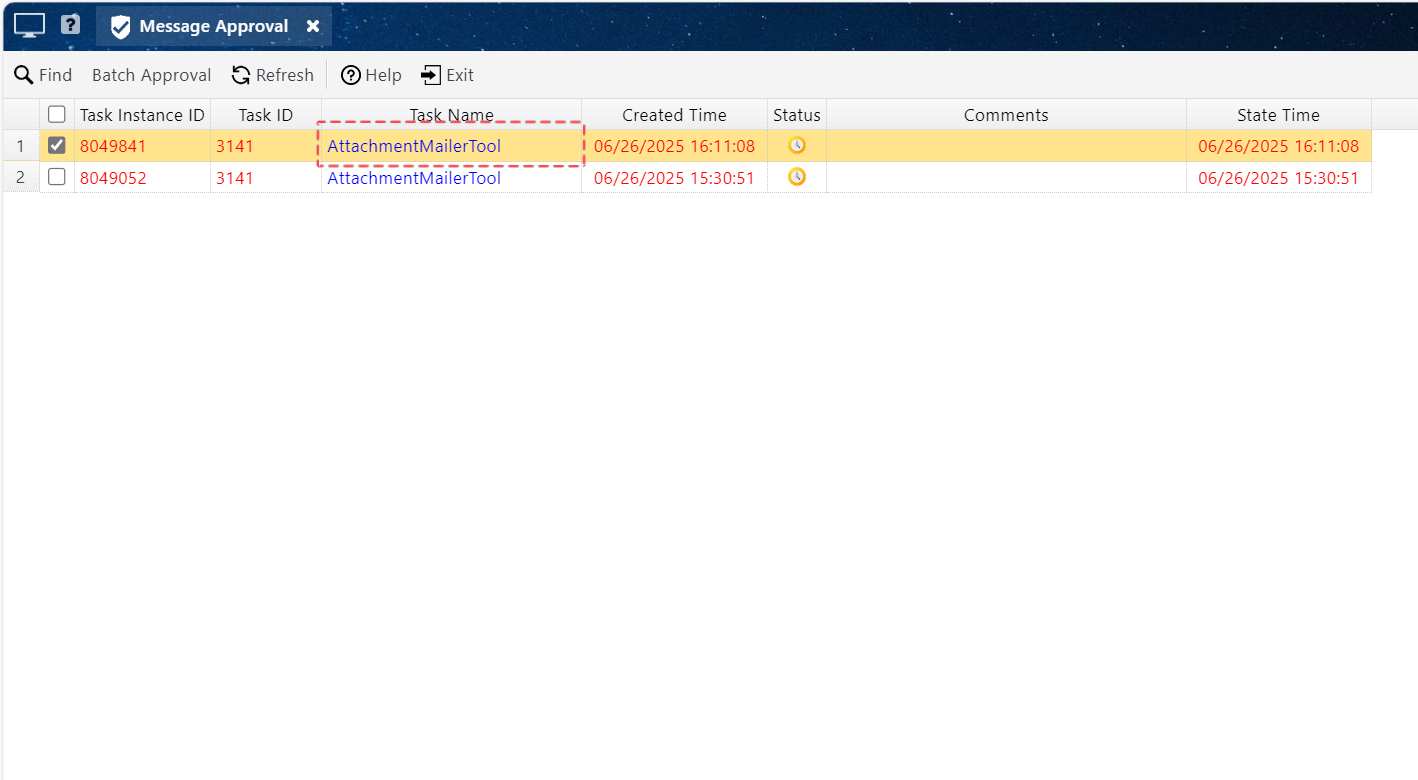
Method 2: Click the "MainMenu" button, then click the "Message Approval" icon.
In the "Message Approval" list, select the task instance you wish to review.
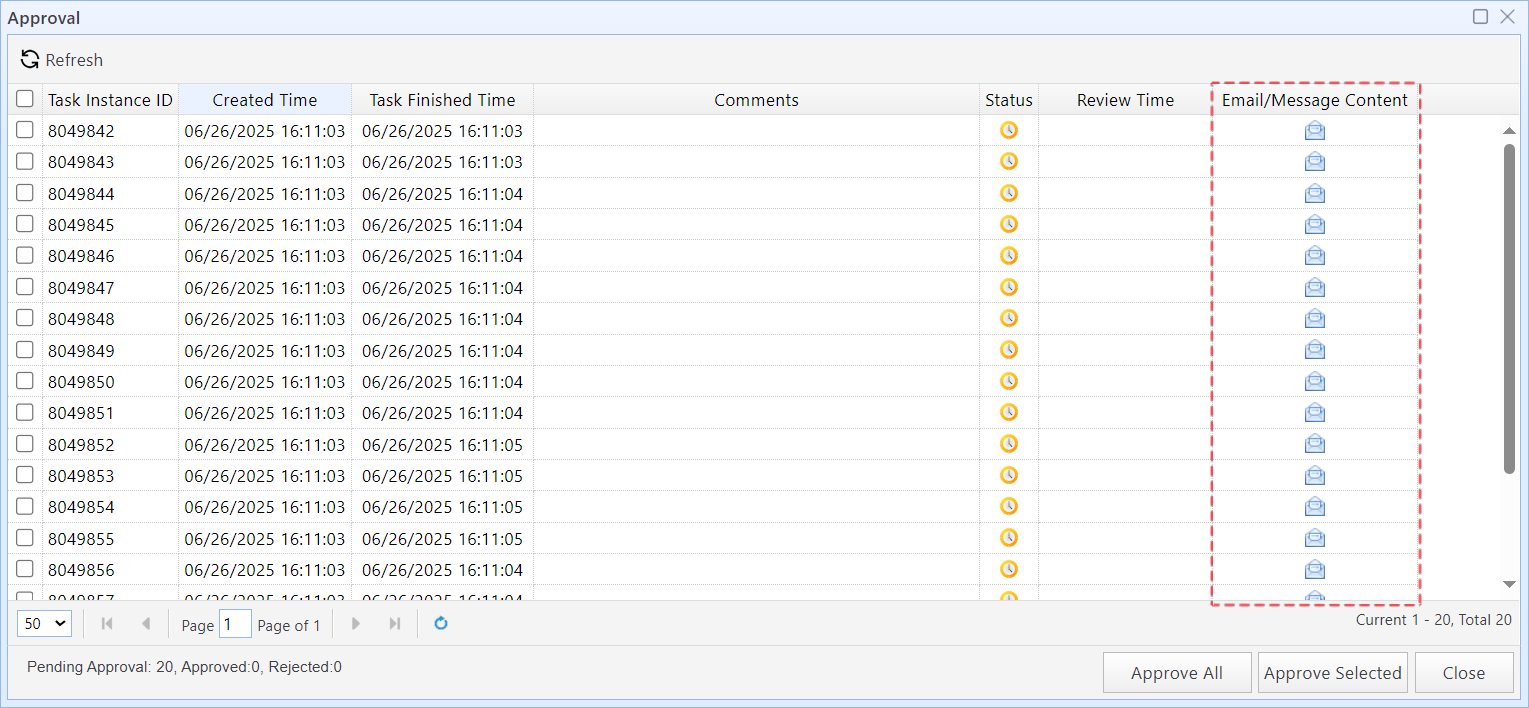
Step2: In the review list, click the mail icon on the right to preview the email content.
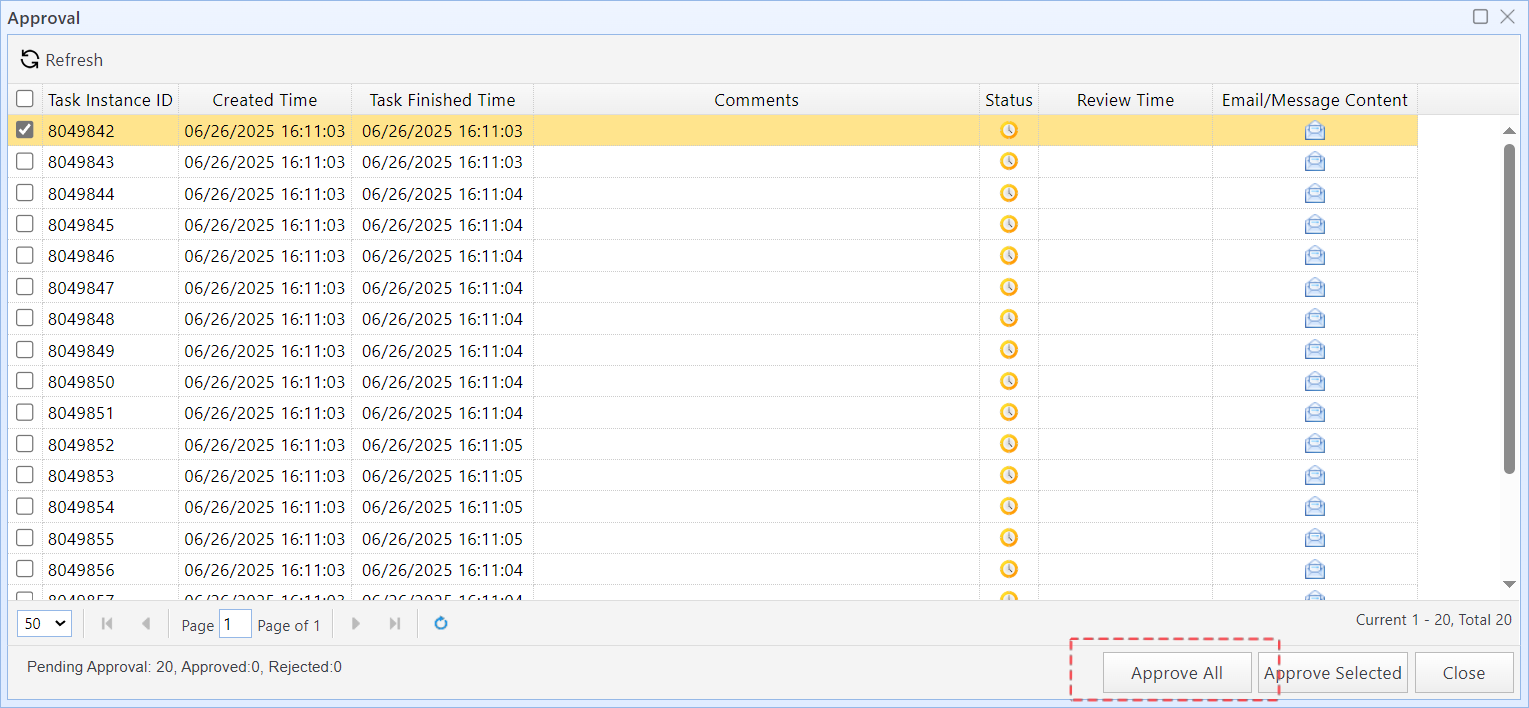
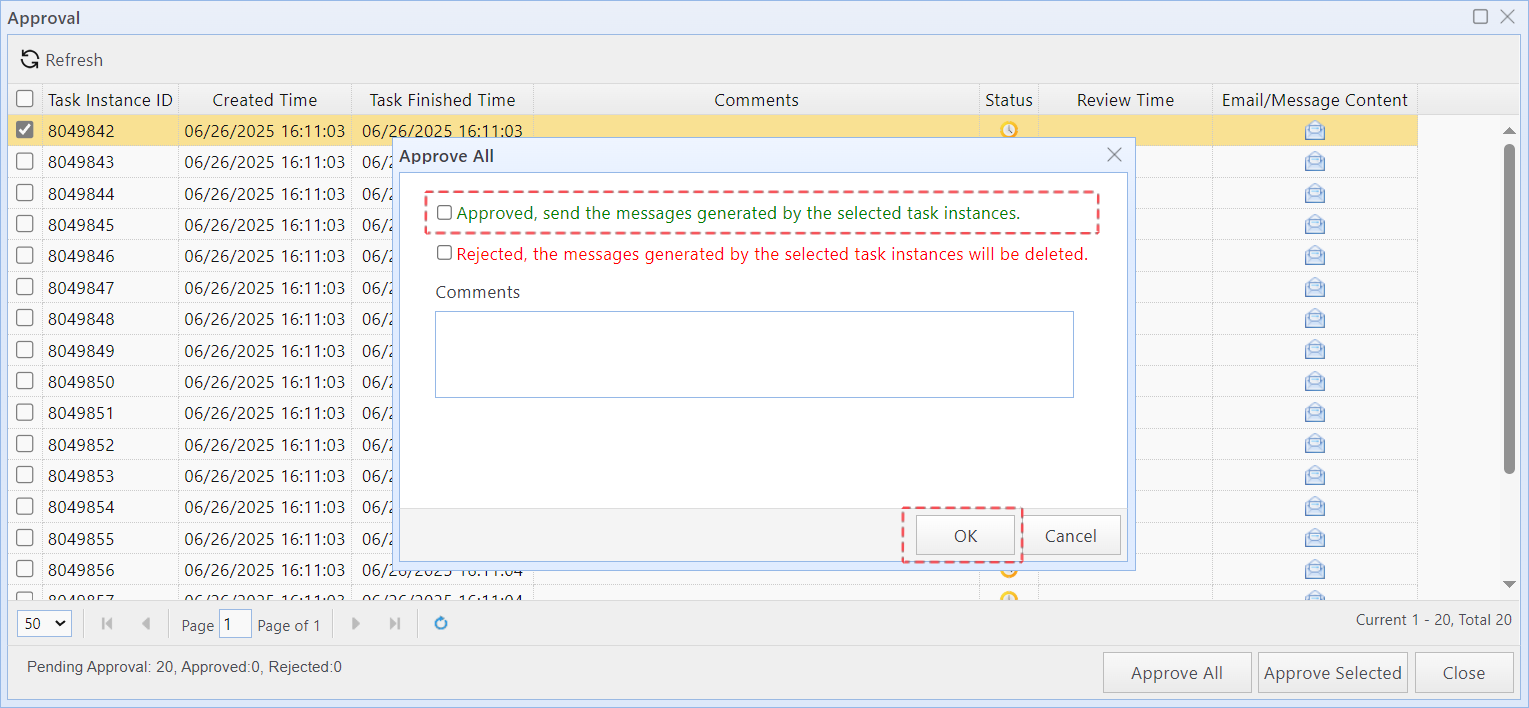
Step3: If everything is correct, click the "Approve All" button at the bottom right.
Step4: Check the box labeled "Approved, send the messages generated by the selected task instances", then click "OK". The system will begin sending the approved emails.
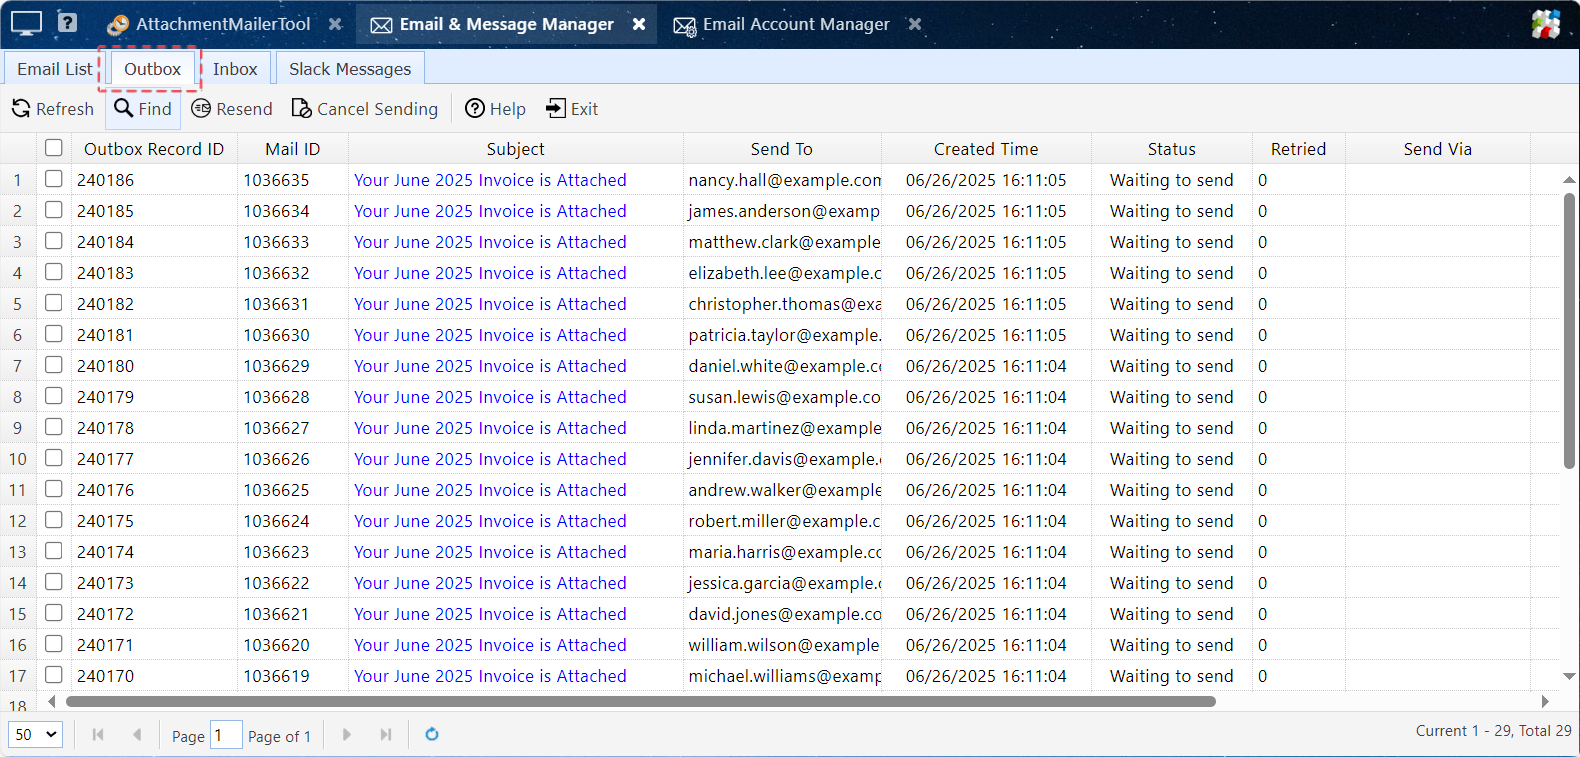
You can monitor the sending progress in the SQLMessenger Outbox.
Step1: Click the "MainMenu" button, then click the "Email & Message Manager" icon.

Step2: Click the "Outbox" button to see the email sending status in the outbox list.