The SQLMessenger AddressBook is used to store your contacts and contact groups information. You can select task recipients from the AddressBook when configuring a task.
Additionally, to enhance SQLMessenger security, you can uncheck the "Allow SQLMessenger to send emails to email addresses not in the Address Book" option in System Settings. This will restrict email sending to only those addresses that exist in the address book. (Note: Already generated emails will continue to be sent without disruption.)
When using the data extraction function, the email address initiating the data extraction request must belong to a contact in the AddressBook.
Click the "AddressBook" icon in the MainMenu to open the AddressBook Manager.
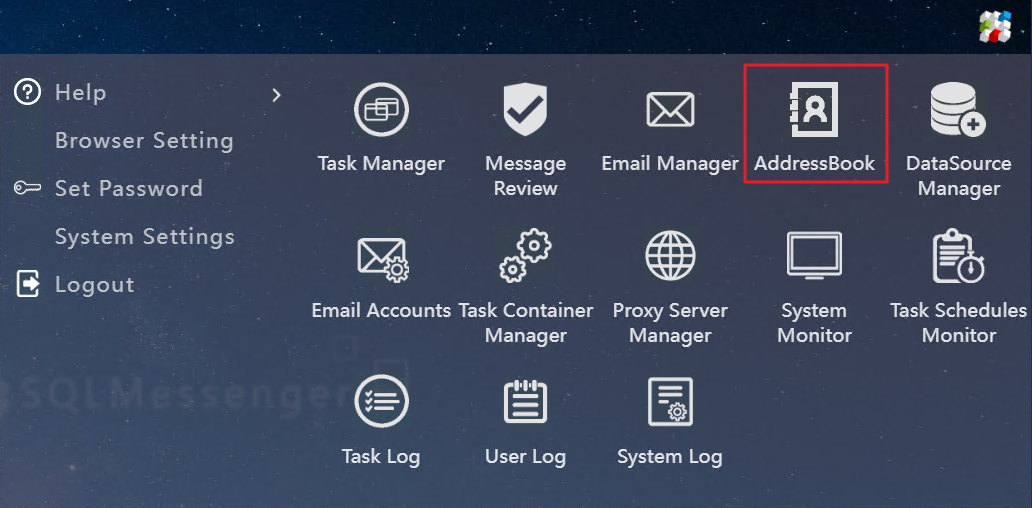
Click the "AddressBook" icon in the MainMenu
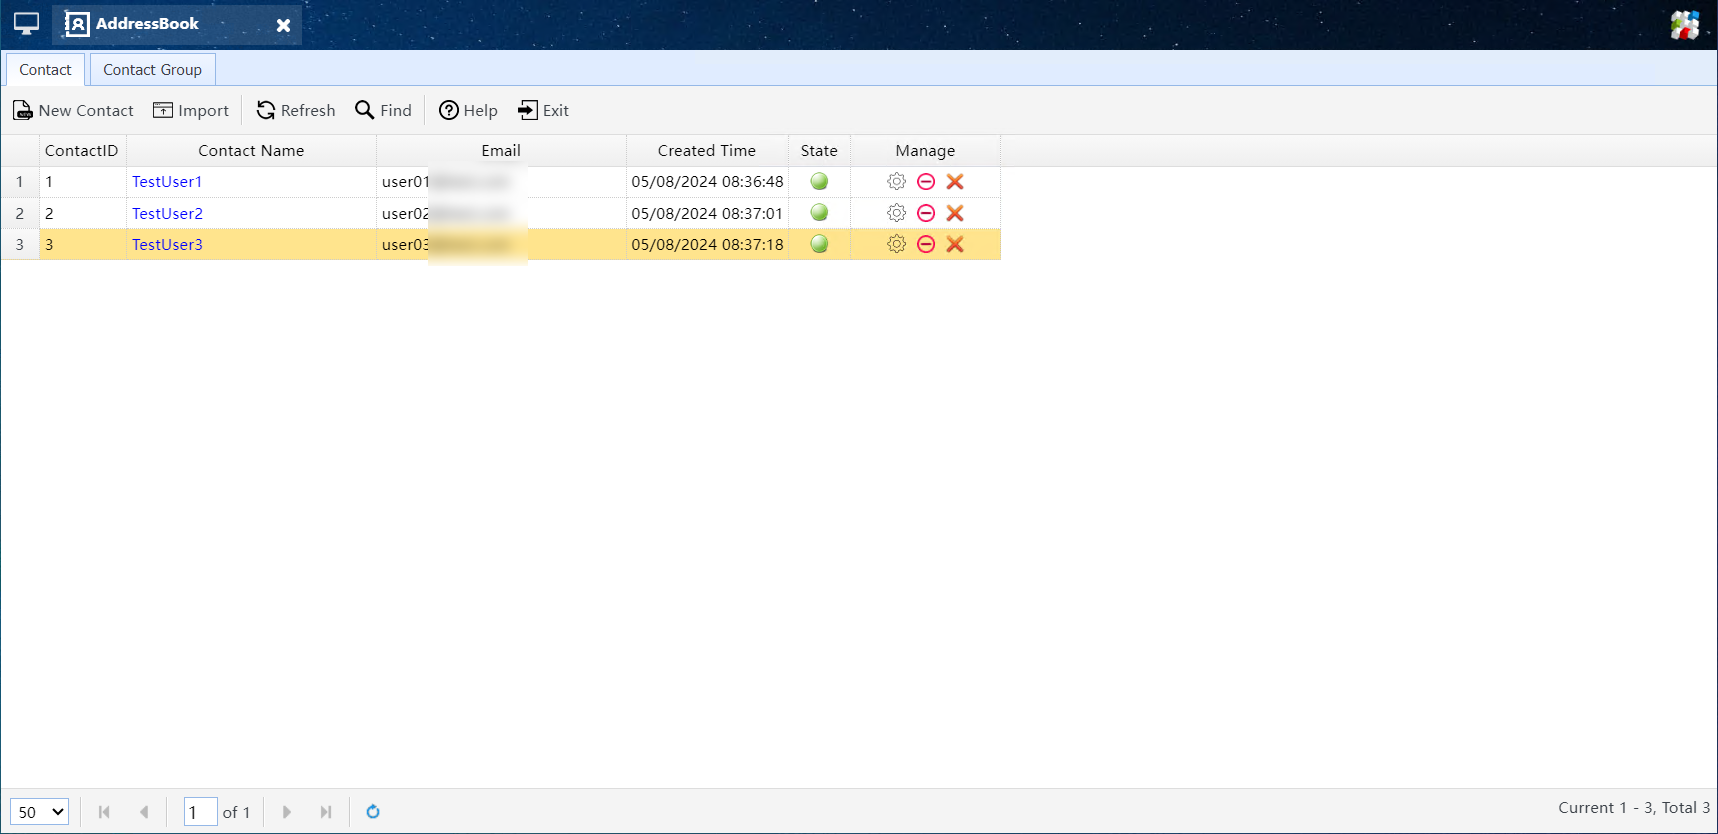
AddressBook Manager
In the AddressBook manager, you can add, modify, and delete contacts and contact groups. You can also batch import contact and contact group information from Excel files.
Click the "New Contact" button in the AddressBook Manager's toolbar to open the "Create New Contact" dialog.
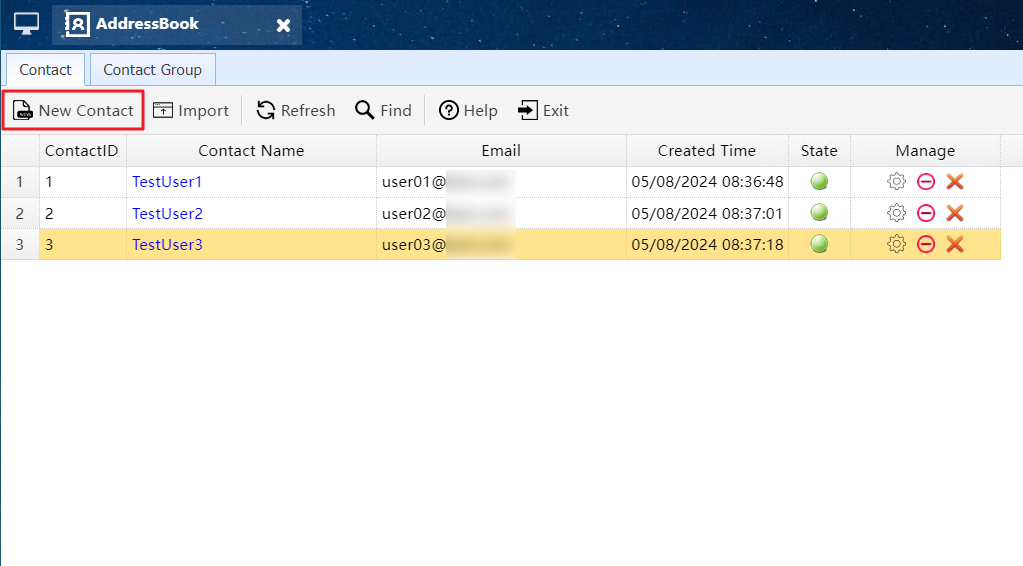
Click "New Contact" button to open the "Create New Contact" dialog
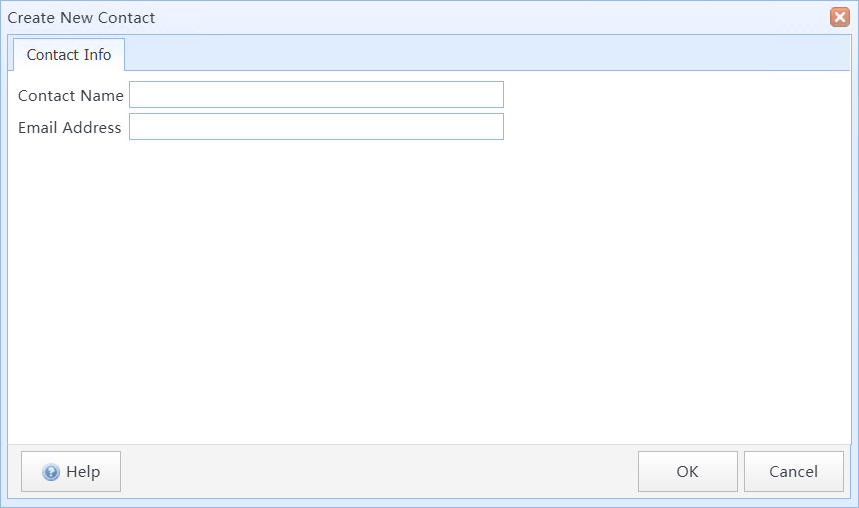
Create New Contact dialog
In this dialog:
|
Contact Name |
Enter the contact name here. The Contact Name will be displayed before the recipient's email address in outgoing emails, for example, " Andy (user01@sqlmessenger.com)". (Note: Some email systems may not support this feature.) |
|
Email Address |
Enter the contact's email address. Email addresses in the address book must be unique. |
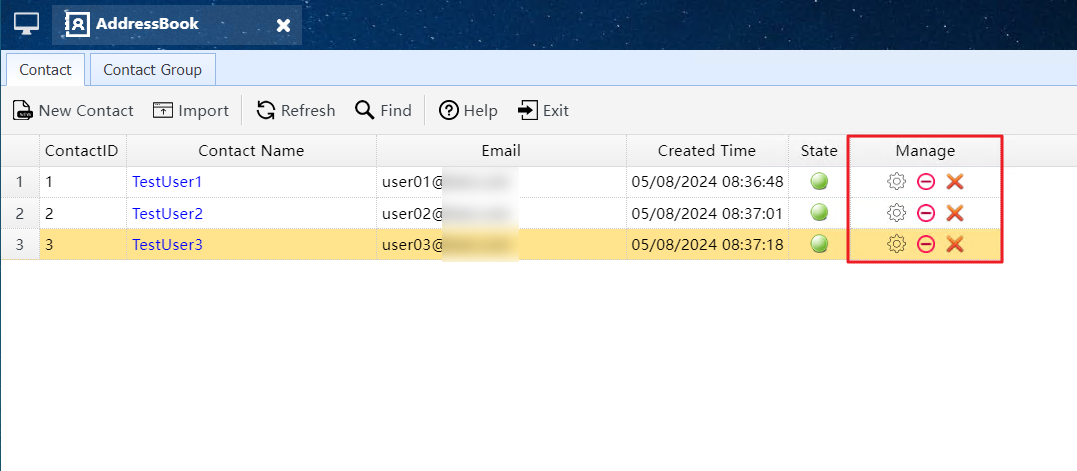
Contact Management Toolbar
 |
Click to open the Contact Properties dialog to modify the contact information. |
 /
/
 |
Click to disable or enable the contact. If a contact is disabled, the system will treat their email address as unfamiliar during task execution, and data extraction requests from this address will not be processed. |
 |
Click to delete the contact. If a contact is deleted, the system will treat their email address as unfamiliar during task execution, and data extraction requests from this address will not be processed. |
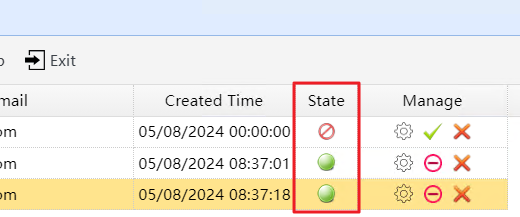
Contact State
 |
The contact is enabled. |
 |
The contact is disabled. |
 |
The contact is deleted. |
A contact group can contain multiple contacts. When configuring a task, you can select contact groups as recipients, and the system will send the email generated by the task to each contact in the selected group.

Contact Group Manager
Click the "New Group" button in the Contact Group Manager's toolbar to open the "New Group" dialog.
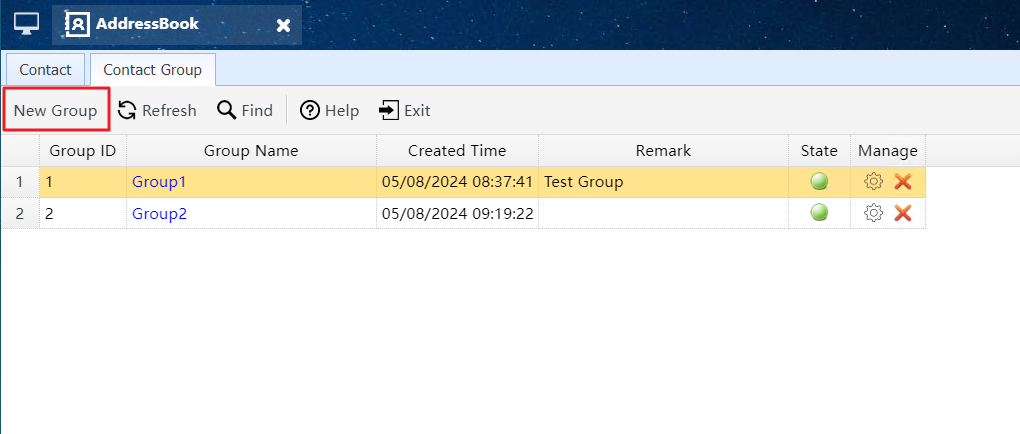
Click "New Group" button to open the "New Group" dialog
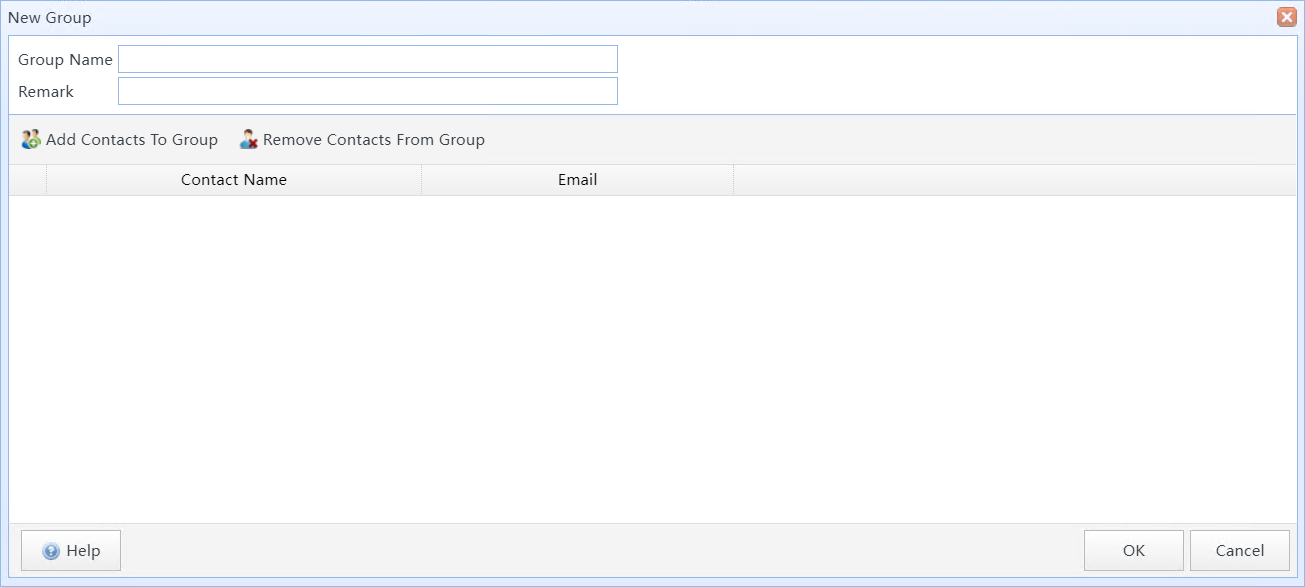
New Group dialog
In this dialog:
|
Group Name |
Enter the group name here. |
|
Remark |
Enter some remarks for the contact group for easier management. |
|
Add Contacts To Group |
Add contacts to the group. |
| Remove Contacts From Group |
Remove contacts from the group. |
8 Batch Import Of Contacts And Groups
You can save contact and group information in an Excel spreadsheet and then batch import it into the SQLMessenger AddressBook.
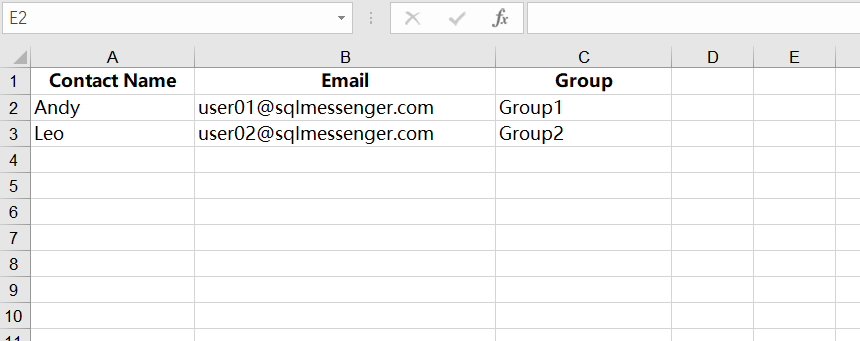
Excel spreadsheet to be imported
You can download the template for this Excel sheet from the "Import Contacts From File" dialog.
In this spreadsheet:
|
Contact Name |
Enter the contact's name here. This field cannot be blank. |
|
|
Enter the contact's email address here. This field cannot be blank, and the email address must be unique. A contact can only have one email address. |
|
Group |
Enter the group name(s) the contact belongs to. If a contact does not belong to any group, this field can be left blank. You can assign multiple group names to a contact; separate each group name with a comma. If a specified group does not exist in the address book, the system will automatically create a new group with that name. |
After editing the Excel sheet, click the "Import" button to open the "Import Contacts From File" dialog.
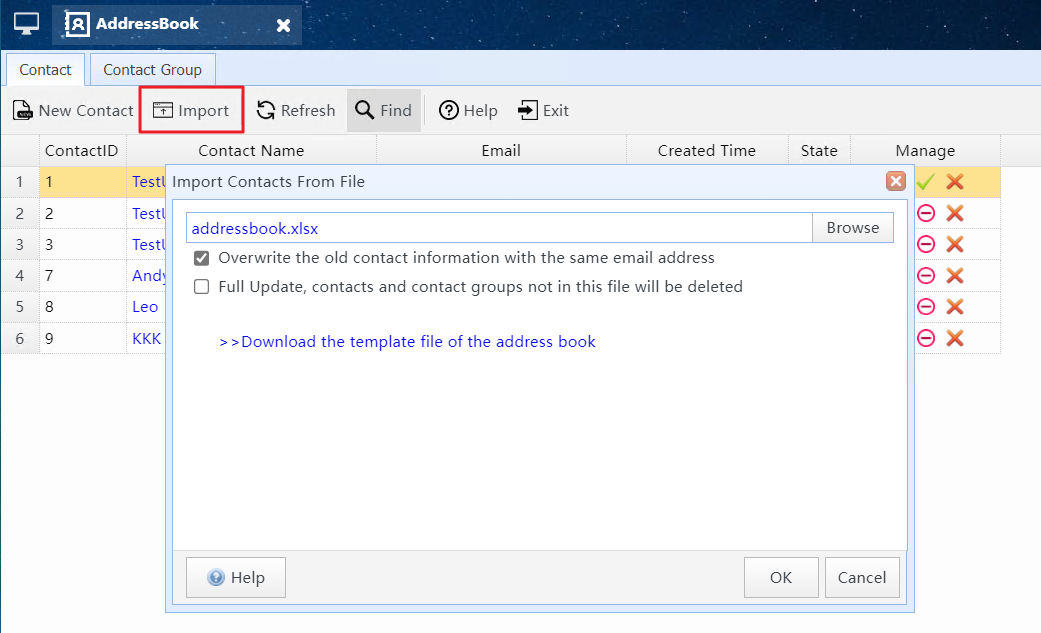
Click the "Import" button to open the "Import Contacts From File" dialog
In this dialog:
|
Overwrite existing contact information for the same email address |
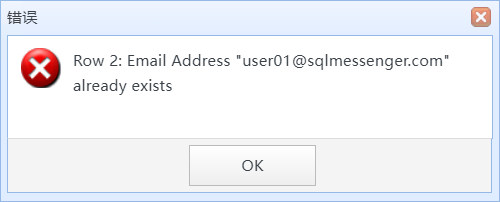
When this option is selected, if an email address in the file already exists in the address book, the system will update the corresponding contact's information with the data from the file. Otherwise, if the email address in the file already exists in the address book, the system will stop the import and display an error message:
|
|
Full Update: contacts and contact groups not in this file will be deleted |
If this option is selected, the system will perform a complete update of the address book using the contact information from the import file. The following actions will be taken during the import process: 1. Delete contacts in the address book whose email addresses are not in the import file; 2. Delete groups that are not in the import file; 3. If an email address in the import file already exists in the address book, the system will update the corresponding contact's information with the data from the file. Note: This action cannot be undone. Please use it with caution. |